Wedding blogs can make over $8,000 a month just through affiliate marketing alone. Incredible, right?! If you love everything about weddings, starting a blog might just be your next big move! Not only is it a creative outlet to share your expertise, but it can also become a lucrative side hustle or even a full-time gig. As someone who’s helped countless clients grow successful wedding blogs, I know what it takes to get started and scale up. Let me show you how to start a wedding blog and turn your passion into profit!
Table of Contents
ToggleWho can start a wedding blog?
Here’s a list of wedding industry professionals who can start a wedding blog to share their expertise, offering valuable content to couples planning their big day and positioning themselves as trusted experts in their fields:
- Wedding Planners – Share tips on planning, coordination, budgeting, and creative ideas for weddings.
- Photographers/Videographers – Showcase portfolios, give photography tips, and share advice on choosing the right photographer or videographer.
- Florists – Provide insights on floral arrangements, trends, and seasonal flower selection.
- Makeup Artists and Hair Stylists – Share beauty tips, makeup tutorials, and advice on bridal looks.
- Wedding Dress Designers/Bridal Boutiques – Discuss wedding fashion trends, dress selection tips, and styling advice.
- Caterers/Chefs – Write about menu planning, catering trends, and food presentation tips.
- Venue Coordinators – Share insights on venue selection, decoration ideas, and event management.
- Jewelers – Discuss engagement rings, wedding bands, and jewelry care tips.
- Stationery Designers – Write about invitation trends, DIY invitation tips, and etiquette.
- Officiants – Share advice on creating meaningful ceremonies and writing personalized vows.
- Bakers/Cake Designers – Provide insights on wedding cake trends, flavors, and design ideas.
- Wedding Decorators – Share tips on wedding decor themes, color palettes, and DIY decorations.
- Event Rental Companies – Write about rental trends, cost-saving tips, and unique items to rent.
- Wedding Bloggers/Influencers – Share experiences, reviews, trends, and tips for planning a wedding.
- Travel Agents – Provide guidance on honeymoon destinations, travel planning, and packing tips.
- Fitness Coaches/Nutritionists – Offer tips on getting in shape for the wedding day and maintaining health during stressful planning periods. (Related post: Health and Fitness Content Writing: 101 Guide)
- Financial Advisors – Write about budgeting tips, financial planning for weddings, and saving strategies.
- Legal Advisors – Discuss prenuptial agreements, marriage certificates, and legal aspects of marriage.
- Lighting and AV Technicians – Share insights on lighting design, AV setups, and how they impact the wedding experience.
Example:

Here’s a step-by-step guide on how to start a wedding blog:
Step 1. How to Start a Wedding Blog: Choose Your Niche
Alright, let’s dive into this. Choosing a niche is kinda like choosing the theme for your wedding. It sets the tone for everything that comes after, and trust me, it’s way easier to build something solid when you’ve got a clear direction.
Identify Your Passion And Research Market:
Here’s the thing: the wedding industry is HUGE. You could write about anything from beach weddings to how to organize your guest list. But, here’s a little secret I learned the hard way—trying to cover it all can leave you feeling like you’re shouting into the void. Instead, think about what gets you excited.
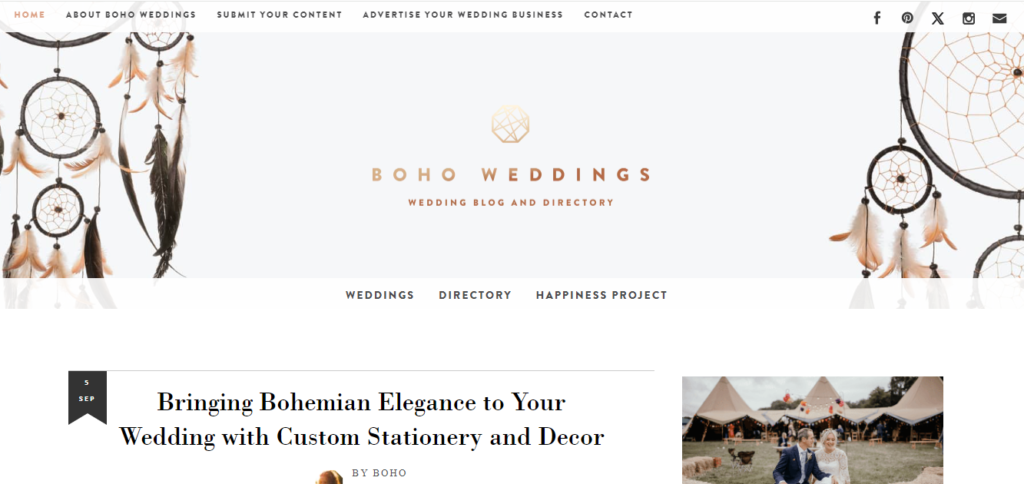
Are you obsessed with boho-themed weddings? Or maybe you love the idea of helping brides plan destination weddings? Maybe you’ve got a knack for budget-friendly tips and tricks. Whatever it is, focus on that.
Decide what aspect of weddings you’re passionate about—be it planning tips, real wedding stories, or bridal fashion.
Why is narrowing down so important?
- Focused Audience: People are more likely to trust and follow a blog that feels like it’s written just for them. If you’re all about eco-friendly weddings, your readers will be too.
- Easier to Stand Out: There are a million wedding blogs out there. By narrowing your niche, you cut through the noise.
- Passion-Driven Content: Writing about something you love is way easier and more sustainable in the long run.
Here’s what I did to get over that hump for my client’s wedding blog:
- Brainstorm Like Crazy: I made a list of everything I liked about weddings. Even the weird stuff like quirky wedding favors or offbeat elopements.
- Research Competitors: I checked out what other wedding bloggers were doing, not to copy them, but to see where the gaps were. If everyone’s writing about traditional weddings, maybe there’s room for something different.
- Ask Yourself What You’d Enjoy Long-Term: You’re gonna be writing about this stuff a lot. So, choose something you won’t get sick of. For me, that meant focusing on intimate, outdoor weddings because I just love everything about them—the simplicity, the scenery, the vibes.
And here’s a little pro tip: Don’t feel like you have to stick to your first niche forever. It’s okay to pivot or tweak your focus as you grow.
Step 2 (How to Start a Wedding Blog): Name Your Blog
Whether you’re going for something whimsical, classic, or even a little cheeky, make sure the name reflects what your blog is all about. Don’t be afraid to brainstorm a whole bunch of ideas. Sometimes, the first name you think of isn’t the winner. So, keep a list on your phone or a notepad, and jot down anything that pops into your head. You’d be surprised how inspiration can strike when you’re not even thinking about it.
Check Domain Availability
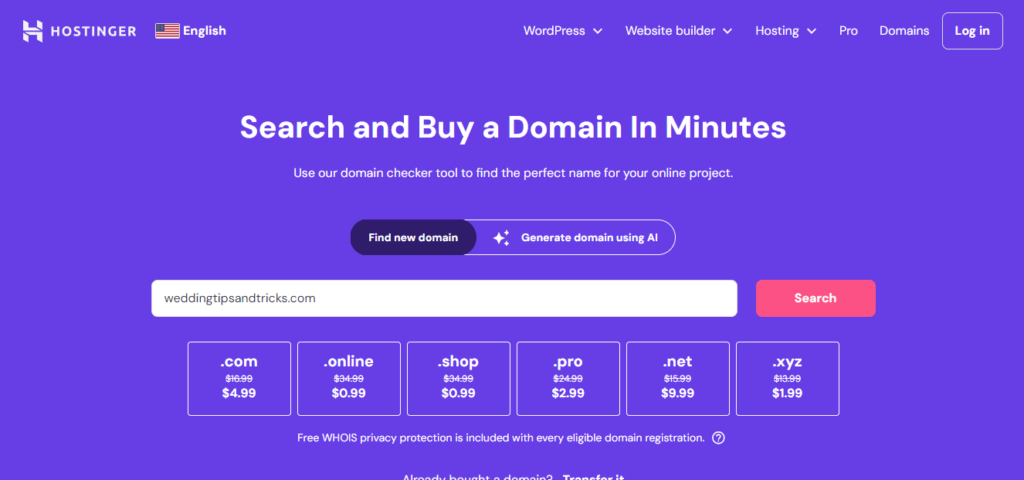
Head over to a site like Bluhost, Namecheap or Hostinger and plug in your ideas to see if the domain is available. And trust me on this one: try to stick with a .com domain. It’s just easier for people to remember and has a more professional vibe. Avoid narrowing your blog’s name too much, as it could make it challenging to expand or shift focus to other topics in the future.
Keep it Simple: Choose a Name That’s Easy to Remember and Spell
Simplicity is key here. I know, I know, it’s tempting to go for something super unique and edgy, but trust me, if it’s hard to spell or pronounce, people won’t remember it. And if they can’t remember it, they won’t visit your blog. That’s a major bummer after all the hard work you’ve put into it.
If you’re stuck, ask friends or family for feedback. Sometimes, an outside perspective can save you from choosing something that seems great in your head but doesn’t work as well in real life.
Step 3 (How to Start a Wedding Blog): Choose a Reliable Host
Choosing the right web host is like picking the right foundation for your house. You want it solid and dependable. I’ve been through a few hosting services, and let me tell you, reliability is key. Look for hosts that guarantee a high uptime—ideally 99.9%—so your blog isn’t going down every other day.
Customer support is another biggie. Trust me, you don’t want to be stuck in a tech nightmare without someone to help you. 24/7 support is a must. I once had a site go down late at night, and having a support team ready to jump in saved my sanity. Scalability is also important. You want a host that can grow with you, so if your blog suddenly gets a surge in traffic, you’re not scrambling for a new host.
Compare Plans: Analyze Different Hosting Plans to Find What Suits Your Needs
Not all hosting plans are created equal, so take some time to compare. There’s a big difference between a basic plan and one that’s loaded with extras. For beginners, starting with a basic plan often does the trick. Most hosts, like Bluehost or SiteGround, offer these plans at a very reasonable price—sometimes as low as $2.95 a month!
When comparing, look at what’s included:
- Storage Space: You don’t need to start with tons, but make sure you have enough.
- Bandwidth: This determines how much traffic your site can handle. A moderate amount is fine for a start.
- Email Accounts: Some plans include email hosting, which can be handy.
Be wary of “too good to be true” offers. Sometimes a super cheap plan might skimp on essential features, and you’ll end up paying more in the long run.
Ensure the Host Offers Robust Security Features
Security is crucial—think of it as the locks on your front door. Your hosting provider should offer features like SSL certificates (which encrypt data transferred between your site and its visitors), daily backups, and strong firewalls. I’ve had my fair share of security issues, and having these features in place has saved me from some major headaches.
Always check if the host offers:
- SSL Certificates: Essential for keeping your visitors’ data safe.
- Regular Backups: So you are able to easily restore your site if something goes wrong.
- DDoS Protection: Helps protect against attacks that can overwhelm your site.

I highly recommend Bluehost or Hostinger — I’ve personally used both, and they meet all the necessary criteria.
Step 4 (How to Start a Wedding Blog): Select the Right Blogging Platform
I Recommend WordPress.com So, why WordPress.com? Simple: flexibility. You’re the boss. You want to change the design? Go ahead. Add some plugins for extra features? Easy. Need to tweak some code to make it look perfect? Knock yourself out. It’s like having your own virtual playground. And, on top of all that, it’s great for SEO. I’ve seen traffic skyrocket just by using a good SEO plugin like Yoast.
Now, if you’re looking for something super simple and free—like, you just want to blog as a hobby—there are platforms like Blogger or Medium. But keep in mind, they come with limitations. You can’t really customize your site much, and forget about doing any serious SEO work. Plus, they can just take your posts down if they decide you’ve broken some rule. You’re basically playing in their sandbox, not yours.
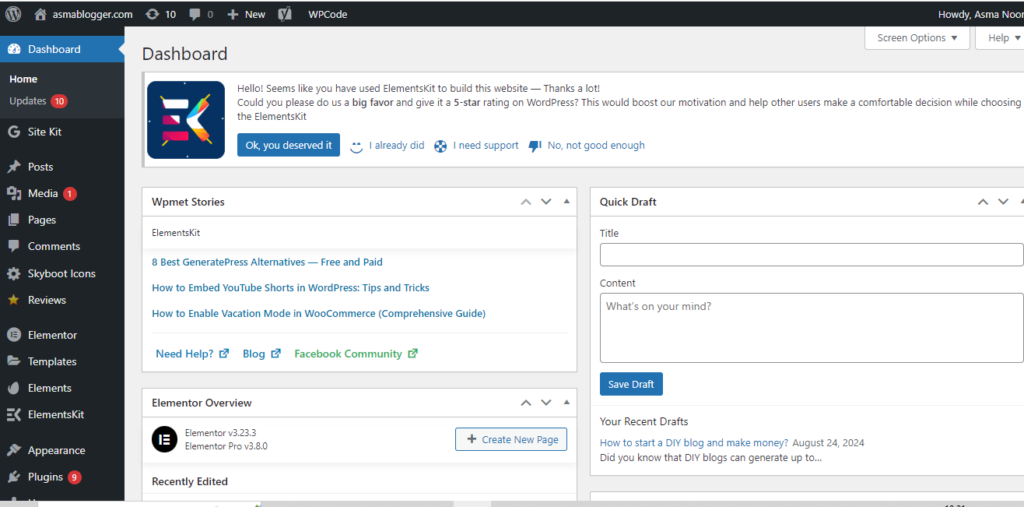
- Benefits of WordPress (free version)
- No start-up costs
- Full control over your design, SEO, content, and monetization
- Ideal if you want to grow your blog and potentially make money
Step 5 (How to Start a Wedding Blog): Select a Theme That Aligns with Your Blog’s Style and Functionality
Picking the right theme is like choosing an outfit for a big event—you want it to be just right. If you’re blogging about travel, for instance, you might want something that showcases stunning photos and has a clean layout. For a food blog, a theme that highlights recipes and has plenty of space for mouth-watering images is a must.
I’ve played around with a bunch of themes, and here’s a trick I’ve learned: start with a free theme that you like but don’t be afraid to upgrade later. Many themes offer basic functionality for free, but you might need some extra features as your blog grows.
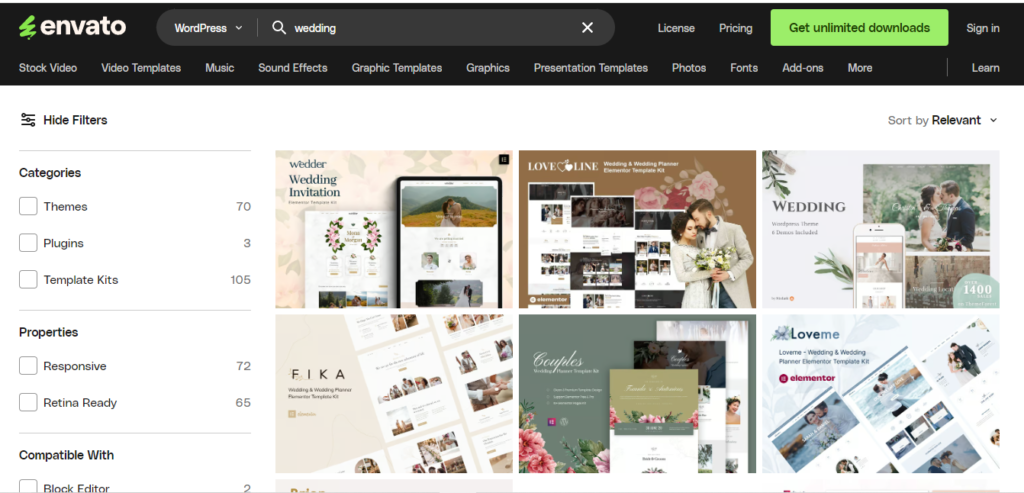
However, you can also opt for free themes available on WordPress!
- Astra: Super lightweight and loads quickly—great if you don’t want to keep your readers waiting.
- Kadence: Offers easy drag-and-drop customization. Perfect if you want to fiddle with the design without getting too technical.
- GeneratePress: Known for its speed and stability. Ideal if you’re planning on having a lot of content.
Customize Your Design: Adjust Colors, Fonts, and Layouts to Fit Your Brand
Once you’ve picked your theme, it’s time to make it your own. This is where you get to show off your style. You’ll want to tweak colors, fonts, and layouts to fit your brand. If your blog is about minimalist living, go for clean lines and neutral tones. If it’s all about vibrant fashion, play around with bold colors and funky fonts.
A few tips:
Colors: Stick to a palette of 2-3 main colors and use them consistently.
Fonts: For blog legibility, keep the font size at least 16 pixels (12 points). You can go larger if your blog has a lot of text or an older audience. Here are some quick font size tips:
- Headings: About twice the size of the body text.
- Subheadings: Slightly smaller than headings.
- Input fields: Match the body text size.
- Line width: 45-75 characters.
- Line height: 130% or more.
Consider using a versatile sans-serif font like Open Sans, Poppins. PT Sans, or Metro Sans for clarity.
Layouts: Make sure your layout is easy to navigate. Visitors should find what they need without getting lost.
Check Mobile Responsiveness
These days, a lot of people browse blogs on their phones. If your blog looks wonky on a smartphone, you’re going to lose readers.
Most modern themes are mobile-responsive, but it’s always good to double-check. Use tools like Mobile-Friendly Test to see how your blog looks on different devices. I once had a theme that looked perfect on a desktop but was a mess on mobile. Took a while to fix, and let me tell you, it was a pain.
To ensure mobile responsiveness:
- Test on Different Devices: Check how your blog looks on phones, tablets, and desktops.
- Optimize Images: Heavy image sizes can slow down your site on devices. Use compressed images that load quickly.
- Simplify Navigation: Make sure menus and links are easy to click on small screens.
Step 6 (How to Start a Wedding Blog): Brand Your Blog
Create a Logo That Represents Your Blog’s Identity
A logo is like your blog’s signature—a little mark that says, “This is me!” You don’t have to be a design whiz to create a logo that pops. There are tons of tools out there that make it easy.
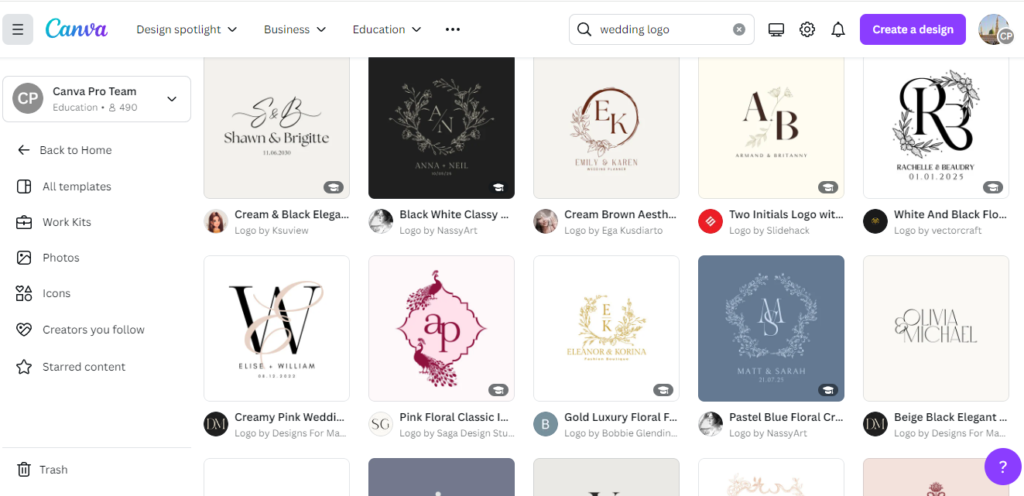
Just keep in mind:
- Simplicity is Key: Your logo should be simple enough to recognize even when it’s small.
- Reflect Your Blog’s Personality: If you’re writing about adventure travel, maybe something with mountains or a compass would work. If it’s a cooking blog, a cute whisk or chef’s hat might be your go-to.
Define Your Brand Voice: Develop a Consistent Tone and Style for Your Content
Next up, your brand voice. This is how you “talk” to your readers. Are you casual and fun, or more professional and informative? Your tone should reflect your blog’s purpose and connect with your audience.
I once had a client who mixed up formal language with casual blog posts—it was a bit of a mess. So, try to be consistent. If you’re writing in a laid-back style, keep it that way across all your posts.
Here’s a tip:
- Know Your Audience: Think about who’s reading your blog and what kind of voice will resonate with them. If they’re young and tech-savvy, a playful tone might work well. If they’re professionals looking for serious advice, a more formal tone could be better.
- Pick Relevant Images: Make sure your images match the vibe of your blog. Don’t use random stock photos that don’t fit with your content. You can customize your media by adding your logo or site name using Canva.
Related Post: What Tones Should You Use When Developing Content? Best Tips
Step 7. Create Essential Pages
Homepage: Make It Pop
First up, the homepage. This is your blog’s first impression, and you know what they say; you never get a second chance to make a first impression. Your homepage should be clear, inviting, and easy to navigate. Don’t clutter it with a ton of text—no one wants to wade through a novel just to find the menu.
Include a quick blurb about who you are and what your blog is about, plus some eye-catching visuals. If you have a blog post that went viral or a popular product, give it a shout-out right there.
About Page: Tell Your Story
Next, let’s talk about the “About” page—this is your chance to get a bit personal. Share your story, your passion, or that one weird experience that led you to start blogging. The more relatable, the better. Think of it like a mini-bio but with more heart.
- Keep it Real: Talk about what you love and why you’re here. Don’t just list credentials—make it a story.
- Include a Pic: People connect with people, not faceless websites. Throw in a friendly picture of yourself!
Contact Page: Make It Easy
Your Contact page should be easy to find and super simple. Just a basic form will do—name, email, message. And if you’re active on social, link those profiles too! I once spent way too long looking for an email on a blog—don’t do that to your visitors.
Privacy Policy + Terms & Conditions: Cover Your Bases
Okay, I know this sounds boring, but trust me, you need a Privacy Policy and Terms & Conditions page. These pages protect you legally and help build trust with your audience. If you’re not sure what to include, there are free generators online like PrivacyPolicies.com—easy peasy.
Other Handy Pages
- Start Here Page: Perfect for guiding new visitors on how to navigate your blog.
- Disclaimer Page: Especially important if you use affiliate links or share personal opinions.
- Custom 404 Page: A fun 404 page makes sure lost visitors don’t just bounce—maybe include a funny gif or direct them to your best content.

Step 8 (How to Start a Wedding Blog): Write Engaging Content
Focus on Solving Problems
Ever been frustrated by a problem? Of course, you have. That’s what your readers are dealing with too. Think of each post as a solution to a problem they’re facing. Are they looking for budget-friendly wedding tips? Give them a step-by-step guide with bullet points, like:
- DIY decor ideas using dollar store finds.
- How to negotiate with vendors without feeling awkward.
- A timeline to follow so nothing falls through the cracks.
You may like: How to start a DIY blog and make money?
When your content actually helps people, they’ll keep coming back for more. Remember, it’s not just about them finding your blog; it’s about them feeling like they’ve found their people.
The Magic of Visuals
Break up your posts with images, lists, and bullet points. And don’t forget to use captions. A good caption can do a lot of heavy lifting, making people feel like they’re part of the story. And if you can, create your own images. I once spent hours searching for a decent stock photo only to end up taking my own – and, surprise, it felt a lot more authentic.
Don’t Stress About Perfection
I can’t stress this enough: don’t let perfection be your enemy. I’ve spent way too much time tweaking every little word when I should have just hit publish. You’ll get better the more you do it. And yes, your first posts might feel awkward and not quite right. That’s okay!
Keep it Consistent and Fun
Most importantly, have fun with it. If you’re bored writing it, trust me, your readers will be bored reading it. Keep things lively, add a little personality, and remember, there’s no one-size-fits-all for creating engaging content. Try new things, see what sticks, and don’t be afraid to switch it up.
Step 9 (How to Start a Wedding Blog): Promote Your Wedding Blog
Get Social!
Instagram and Pinterest are your best friends in the wedding niche. Here’s the deal: post high-quality photos, real weddings, behind-the-scenes clips, even those little moments that make you smile. People love to feel like they’re part of something. And, don’t just post and ghost—engage! Comment on other people’s stuff, share stories, join hashtag challenges… act like you’re at a party and want to talk to everyone!
- Instagram & Pinterest: Share a mix of stunning wedding shots, behind-the-scenes moments, and tips. Use wedding hashtags like #WeddingBlogger, #WeddingInspiration, or #RealWeddings to reach your tribe.
- TikTok: Make short, snappy videos—think “How to Write Your Vows” or “Behind the Scenes of a Real Wedding Shoot.” People eat that stuff up.
Oh, and don’t forget Facebook! Join some of those wedding planning groups and contribute. Don’t spam—nobody likes the annoying person in the room, right? Be helpful. Be you.

Related Post: How to Promote Your Blog Without Social Media: Tested Strategies
SEO
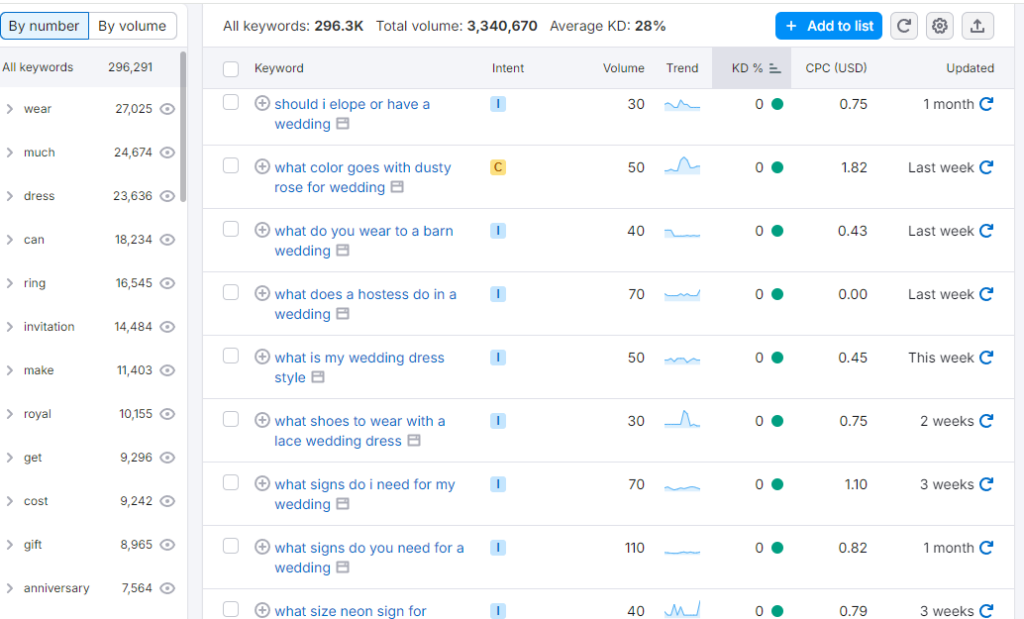
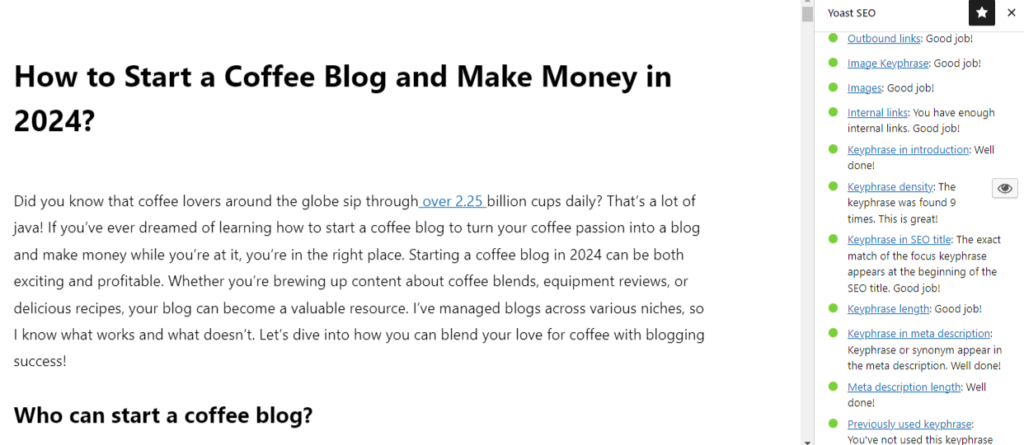
Okay, search engine optimization (SEO) sounds like a big scary monster, but it’s not. It’s more like a friendly dragon that just wants to help your blog get seen. Trust me, you don’t have to be a tech guru for this. Start small: use keywords like “rustic wedding decor ideas” or “best places to elope” that people actually search for.
Pro tip: Think like a bride. What’s she searching for at 2 a.m. while stress-eating ice cream? Make sure your content speaks to those midnight searches. Update your meta descriptions, use image alt texts, and bam! You’re off to a great start.
Related Post: Content-Centric SEO: A Comprehensive Guide
Make Friends with Vendors
One of the best tips I’ve learned—partner with wedding vendors. I’m talking photographers, florists, bakers—everyone in the wedding biz! Give them shout-outs on your blog, link to their websites (always in a new tab, so your reader stays on your site!), and they might return the favor. Plus, it’s just nice to support each other.
And, when you feature a real wedding, ask the couple’s permission and then credit every vendor. It’s like a thank-you card that keeps on giving!
Use Email Marketing
Email marketing might sound old school, but it works. Create a freebie that’s so good, brides have to sign up—like a downloadable “Wedding Planning Checklist” or “Top 10 Questions to Ask Your Photographer.” Then, send out regular emails (but not too many; no one likes a spammer) to share your latest blog posts, share insider tips, or even do a spotlight on a favorite real wedding.
Related Post: What Are the Benefits of Email Communication? My Insights
Guest Post and Collaborate
It’s like getting invited to speak at someone else’s party, and you get to bring your own friends (aka, your content). Plus, it boosts your authority. Win-win! Reach out to popular wedding bloggers or websites and offer to write something unique and valuable. The key is to pitch something they don’t already have.
Related Post: How to Write a Collaboration Email That Closes the Deal?
Don’t Forget Community
Share your posts in places like subreddits (try r/Wedding or r/WeddingPlanning) or Facebook groups. Be active, offer advice, and occasionally, sneak in a link to your blog—only when it adds value to the conversation. No one likes a self-promoter who isn’t adding value.
Relates post: How to Build a Blog Following? Expert Tips
Step 10 (How to Start a Wedding Blog): Monetize Your Blog
You don’t need to dive into every possible income stream at once. Pick a couple that vibe with your style and roll with it. You can gradually more.
Affiliate Marketing
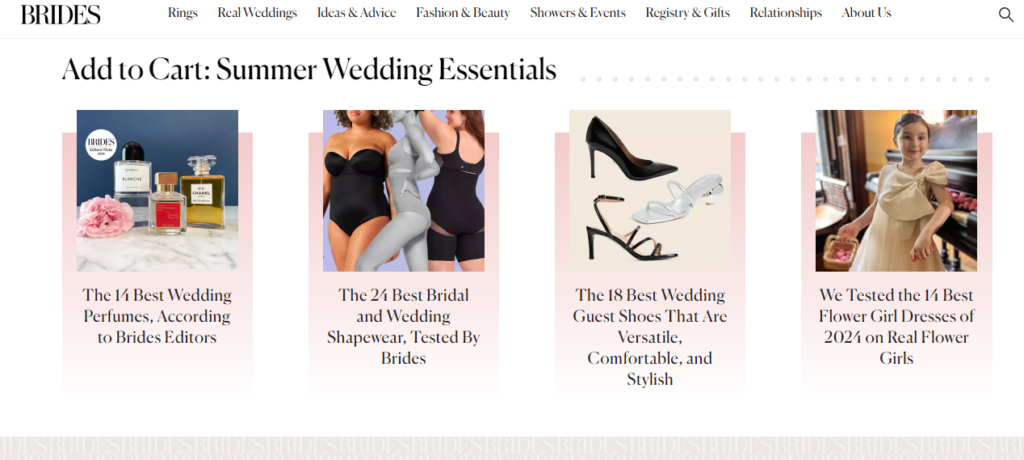
First up, affiliate marketing. This is like your blog’s best friend because it’s easy and can be pretty lucrative if you play your cards right. You’re basically promoting products or services you genuinely believe in—like that gorgeous hand-sewn bridal veil or a killer wedding planner app. You drop those affiliate links in your content and boom, every time someone clicks and buys, you get a slice of the pie.
- Pro tip: Don’t just slap a bunch of links everywhere. Instead, weave them into your stories naturally, like you’re chatting with a friend over coffee. Trust me, it builds credibility and makes people more likely to click.
Sell Digital Products: Cash In on Your Expertise
Next, consider selling digital products—things like checklists, templates, or even a guide on how to pick the perfect wedding dress. Digital products are awesome because there’s no overhead. No shipping, no handling, nada. Plus, once you create them, they can bring in passive income for years.
- Quick tip: Start small. Maybe launch a printable wedding budget tracker or a digital guest list organizer. Gauge the interest and then think bigger, like an ebook or a full-blown wedding planning course.
Sponsored Content
Now, let’s talk sponsored content. When your blog starts gaining some traction, you might notice brands sliding into your inbox, wanting you to write about their stuff. This can be gold. You write a post that looks like any other blog post, but you’re getting paid by the brand.
- Keep it honest. Make sure the product or service aligns with your values and your readers’ interests. No one wants to read a post that feels like a pushy sales pitch—be authentic and make it fit naturally into your content.
Related Post: How to Write a Sponsored Blog Post That Converts?
Offer Services: Be the Expert
If you’re already a wedding whiz—maybe you’re a seasoned planner or a master at DIY wedding decor—why not offer your services? Your blog can double as a portfolio. You can offer consultations, planning services, or even DIY workshops.
- Pro move: Add a “Hire Me” page to your blog with packages, pricing, and testimonials. Share behind-the-scenes content to build trust and show off your expertise.
Don’t Forget Your Email List
Your email list is like your secret weapon. It’s the only audience you truly “own,” unlike followers on Instagram or subscribers on YouTube. Use it to nurture relationships, share exclusive content, or promote your latest product.
- Pro tip: Start collecting emails from day one. Offer a freebie like a wedding planning checklist or a mini-guide to attract subscribers.
How to Start a Wedding Blog: Conclusion
Starting a wedding blog isn’t just about sharing your love for weddings—it’s about turning your passion into a profitable venture! From choosing a niche and picking the perfect platform to crafting engaging content and monetizing your efforts, every step is an opportunity to grow. Remember, there’s no one-size-fits-all approach; tailor these tips to fit your unique style and goals! Ready to dive in? Start your blog, share your stories, and help others create their perfect day.
If you need more guidance, feel free to connect with me—I’d love to help you make your wedding blog a smashing success!

